
1. Add the website
- Open Websites in the publisher sidebar and click New Website.
- Enter a name, the full URL with
https://, the content categories and the languages of your audience. - Save. New sites are held for up to 24 hours and then moderated against the publisher policies; the status changes from pending to approved, and zones on an approved site start receiving paid ads.
- Where ownership verification is requested, add the meta tag to your home page's
<head>or upload the verification file to the domain root, then click Verify.
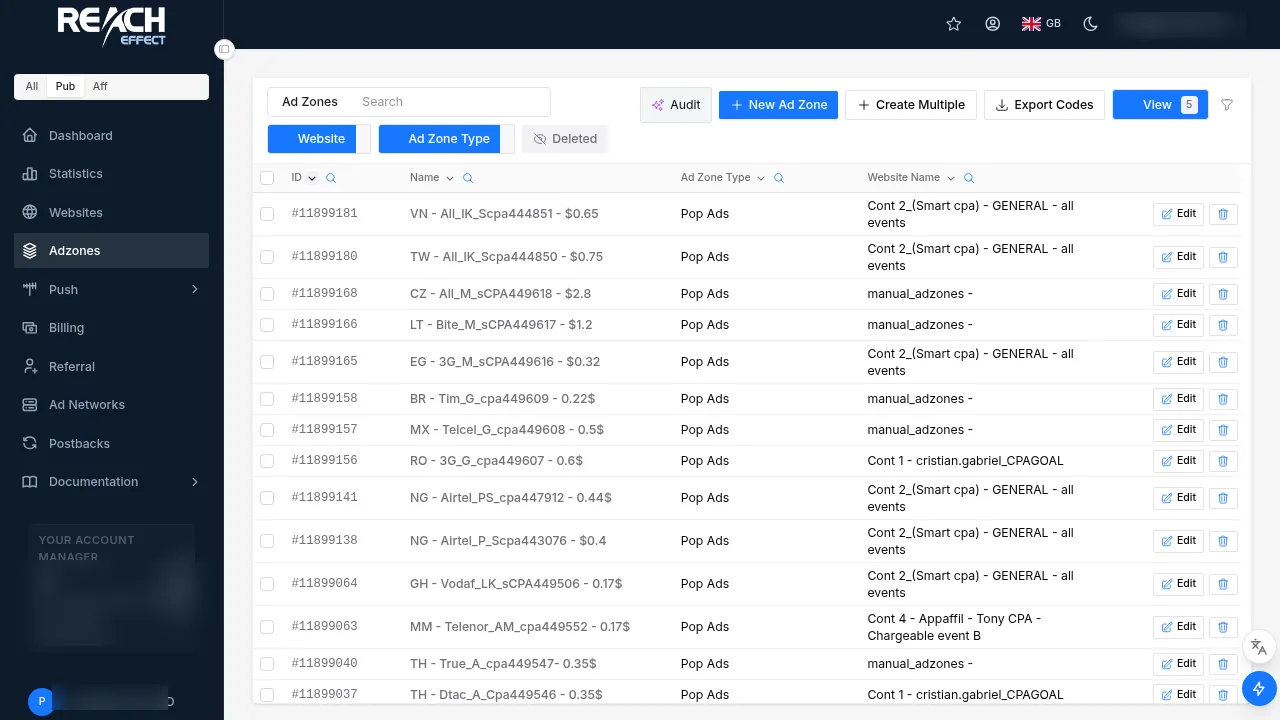
2. Create ad zones
Open Adzones → New Ad Zone (or Create Multiple). Pick the website, a name and the type: Pop Ads (popunder), Banner (with a fixed size), Native, In-page push, Interstitial, Video or VAST, Redirect or Smartlink. The type is fixed once the zone is created, so create one zone per placement and format.
3. Place the code
| Format | What you get | Where it goes |
|---|---|---|
| JavaScript tag | An asynchronous <script> that renders the ad in place | In the page HTML at the ad's spot, or in the template |
| Iframe | The ad isolated in its own frame | Banner slots that must be sandboxed from the page |
| Pop URL | A URL that opens the popunder | Wired to the click or trigger that fires the pop |
| VAST tag | A VAST URL for your video player | The player's ad-tag setting, not the page |
| JSON | The ad's data for your own rendering | Requested by your code in an app or custom build |
Each zone has its own code; never share one snippet between two placements. Reserve the space for banner slots with a container of the zone's size so the page does not jump. Export Codes downloads every zone's snippet at once.
4. Check it works
Open the page in a normal browser with ad blockers off. Paid fills begin once the site is approved and traffic flows; the Statistics page shows impressions per zone within the hour.
Full guide inside your account. Every option on this page, with screenshots of each screen, is documented in the platform under Documentation → Getting Your Ad Code after you log in.
Questions: [email protected]Next: Payouts →